Luscious No-Bake Blueberry Cheesecake Cups: A Delightful Dessert Experience
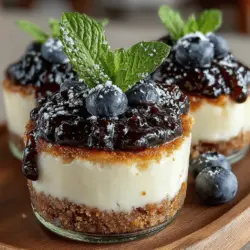
Indulging in a dessert that is both delicious and easy to prepare is a delight for any food lover. Luscious No-Bake Blueberry Cheesecake Cups are the perfect solution for those seeking a sweet treat without the hassle of baking. Imagine a creamy, velvety cheesecake base layered with fresh blueberries, all elegantly presented in individual cups. This dessert is not only a feast for the taste buds but also a visual delight, making it an ideal choice for gatherings, celebrations, or simply as a sweet finish to a weeknight dinner with family.
No-bake desserts have surged in popularity, and for good reason. They provide a simple and convenient alternative to traditional baked goods, allowing dessert enthusiasts to create delicious treats without the need for an oven. This is particularly beneficial during the warmer months when turning on the oven can make a kitchen uncomfortably hot. With minimal preparation time and a few basic ingredients, you can whip up these blueberry cheesecake cups in no time, ensuring that your dessert game remains strong, even on the busiest of days.
In this article, we’ll explore the intricacies of creating this luscious dessert, from the ingredients to the step-by-step instructions, ensuring that you can replicate this recipe with confidence.
Understanding the Appeal of No-Bake Desserts
No-Bake Desserts: A Quick Overview
No-bake desserts are defined by their simplicity and ease of preparation; they typically require no cooking or baking, relying instead on the natural textures and flavors of their ingredients. These desserts often involve chilling or setting in the refrigerator, allowing the ingredients to meld together beautifully without the need for heat. The result is a creamy, luscious treat that captures the essence of its components, making it a favorite among dessert lovers.
The benefits of no-bake desserts extend beyond convenience. They are perfect for busy lifestyles, allowing you to create something special without spending hours in the kitchen. This makes them an excellent choice for last-minute gatherings or potlucks where you want to impress without the stress. Additionally, no-bake recipes are incredibly versatile, accommodating a wide range of flavors and dietary preferences. Whether you’re catering to vegans, gluten-free eaters, or those with nut allergies, there’s likely a no-bake dessert option that meets your needs.
During the summer months, no-bake desserts truly shine. They provide a refreshing and light alternative to heavier baked goods, making them an ideal choice for outdoor picnics, barbecues, and pool parties. The Luscious No-Bake Blueberry Cheesecake Cups, in particular, offer a refreshing burst of flavor that complements warm weather gatherings perfectly.
Ingredients Breakdown
Essential Ingredients for Blueberry Cheesecake Cups
Creating the perfect Luscious No-Bake Blueberry Cheesecake Cups starts with selecting the right ingredients. Each component plays a crucial role in achieving the desired flavor and texture, so understanding their significance is essential.
1. Graham Crackers: These serve as the base for the dessert, providing a crunchy texture that contrasts beautifully with the creamy filling. The slight sweetness of the graham crackers enhances the overall flavor profile.
2. Butter: Melted butter is combined with the graham cracker crumbs to bind them together, creating a cohesive crust. The richness of the butter adds a depth of flavor that complements the sweetness of the cheesecake.
3. Cream Cheese: This is the star of the show. High-quality cream cheese provides the creamy texture and tangy flavor that is characteristic of cheesecake. It’s essential to let your cream cheese come to room temperature before mixing to achieve a smooth consistency.
4. Powdered Sugar: This sweetener is used to balance the tanginess of the cream cheese. Powdered sugar dissolves more easily than granulated sugar, ensuring a smooth filling without any graininess.
5. Vanilla Extract: A splash of vanilla extract adds warmth and depth to the flavor, enhancing the overall taste of the cheesecake filling.
6. Heavy Whipping Cream: Whipped to soft peaks, heavy cream adds lightness and airiness to the filling, creating a luxurious texture that melts in your mouth.
7. Blueberries: Fresh blueberries not only provide a burst of flavor but also add vibrant color to the dessert. Their natural sweetness and slight tartness create a perfect balance with the rich cheesecake filling.
8. Lemon Juice (optional): A hint of lemon juice can brighten the flavor of the cheesecake, providing a refreshing contrast to the sweetness. It’s particularly effective if you prefer a slightly tangy cheesecake.
Each of these ingredients contributes to the deliciousness of the final product. Using fresh blueberries and quality cream cheese is particularly important, as they significantly affect the overall taste and texture of the dessert. For those with dietary restrictions, there are numerous substitutions available, such as using gluten-free graham crackers or dairy-free cream cheese, allowing everyone to enjoy this delightful treat.
Step-by-Step Instructions
Preparing the Crust: The Foundation of Flavor
The first step in creating your Luscious No-Bake Blueberry Cheesecake Cups is preparing the crust. This foundation is critical, as it adds flavor and texture to the dessert.
1. Mixing Graham Cracker Crumbs and Melted Butter: Start by crushing your graham crackers into fine crumbs. You can do this by placing them in a resealable plastic bag and using a rolling pin or by pulsing them in a food processor. Once you have a fine crumb, transfer it to a mixing bowl and add the melted butter. Mix the two ingredients together until the crumbs are evenly coated and the mixture resembles wet sand.
2. Tips for Achieving the Perfect Texture and Consistency: It’s essential to achieve the right texture for your crust. It should hold together when pressed but not be overly wet. If your mixture feels too dry, add a little more melted butter, one teaspoon at a time, until the desired consistency is reached. Once mixed, evenly distribute the graham cracker mixture into the bottoms of your serving cups. Press down firmly to create a compact layer. This will ensure that your crust holds its shape when you add the cheesecake filling.
Creating the Creamy Cheesecake Filling
After the crust is prepared, it’s time to move on to the star of the dessert—the cheesecake filling.
1. Beating Cream Cheese to a Smooth Texture: In a large mixing bowl, add the room-temperature cream cheese. Using an electric mixer, beat the cream cheese on medium speed until it becomes smooth and creamy, free of lumps. This step is vital, as any lumps in the cream cheese will affect the overall texture of your cheesecake.
2. The Significance of Incorporating Powdered Sugar and Vanilla Extract: Gradually add the powdered sugar and vanilla extract to the smooth cream cheese, mixing until fully incorporated. The powdered sugar not only sweetens the mixture but also helps to create a silky texture. Taste the filling as you mix; feel free to adjust the sweetness by adding more powdered sugar if desired.
3. Whipping the Cream: Achieving the Right Consistency: In a separate bowl, use an electric mixer to whip the heavy cream until soft peaks form. This step is crucial for achieving the light and airy texture characteristic of no-bake cheesecakes. Carefully fold the whipped cream into the cream cheese mixture using a spatula, being gentle to maintain the volume of the whipped cream. This folding technique ensures that your cheesecake filling remains light and fluffy.
With the crust prepared and the cheesecake filling created, you’re well on your way to assembling your Luscious No-Bake Blueberry Cheesecake Cups. The combination of the buttery graham cracker crust and the creamy cheesecake filling sets the stage for a delightful dessert experience that is sure to impress.
Stay tuned for the next section, where we will explore the final steps of assembling and decorating your blueberry cheesecake cups, ensuring that they are as visually appealing as they are delicious.
Techniques for Whipping Cream to Stiff Peaks
Whipping cream is a crucial step in achieving the light and airy texture that makes no-bake cheesecakes so delightful. To whip cream to stiff peaks, start with cold heavy cream stored in the refrigerator until you’re ready to use it. This temperature ensures that the fat in the cream emulsifies properly, allowing it to trap air effectively.
Step-by-Step Guide to Whipping Cream
1. Chill Your Equipment: Place your mixing bowl and beaters in the freezer for about 10-15 minutes before whipping. This extra chill helps the cream whip faster and increases volume.
2. Start Slow: Pour the cold heavy cream into the chilled bowl. Begin mixing at a low speed to prevent splattering, gradually increasing to medium-high speed.
3. Watch for Stiff Peaks: Continue whipping until the cream thickens and begins to form soft peaks. At this point, add any sweeteners (like powdered sugar) or flavorings (such as vanilla extract) to enhance the taste.
4. Achieve Stiff Peaks: Whip the cream further until you reach stiff peaks. This means when you lift the beaters, the peaks hold their shape firmly without drooping.
The Importance of Gentle Folding to Maintain Airiness
Once your cream is whipped to stiff peaks, it’s essential to incorporate it into the cream cheese mixture gently. This process preserves the airiness you’ve created. Folding is the technique used to combine two mixtures without deflating the whipped cream.
How to Fold Properly
1. Add the Whipped Cream: Start by adding a small portion of the whipped cream to the cream cheese mixture. Stir this in vigorously to lighten the cream cheese, making it easier to fold in the rest of the whipped cream.
2. Folding Technique: Using a rubber spatula, scoop under the mixture and gently lift it over the whipped cream. Rotate the bowl as you go to ensure even mixing. Repeat this motion until just combined, being careful not to overmix, which can deflate the whipped cream.
Assembling the Cheesecake Cups
Layering Techniques for a Visually Stunning Presentation
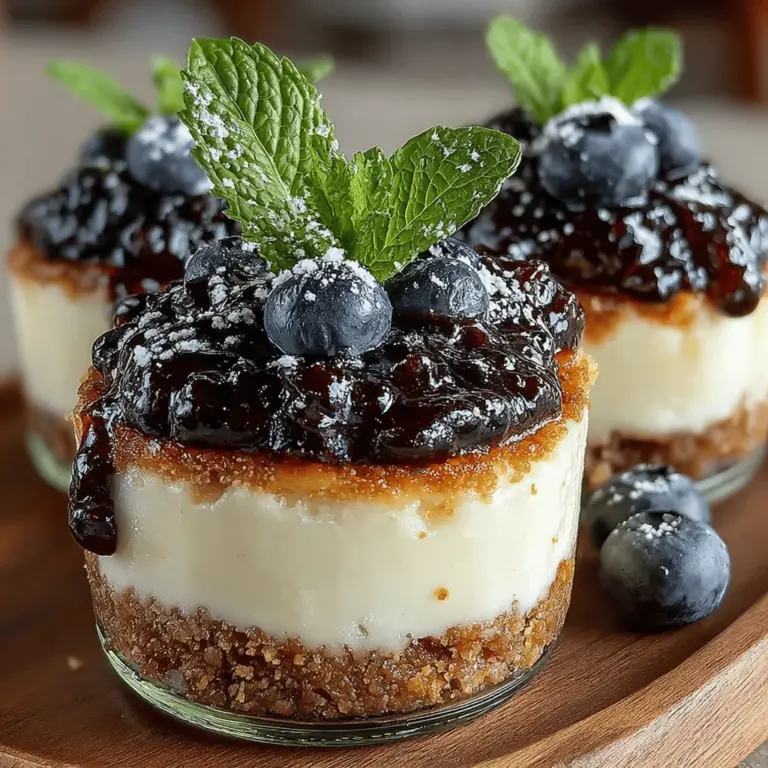
Now that your cheesecake filling is ready, it’s time to assemble the cheesecake cups. Presentation is key, especially for a dessert that is as visually appealing as it is delicious. Using clear cups or jars enhances the visual layers, allowing the vibrant blueberries and creamy cheesecake to shine.
Steps for Layering
1. Start with the Crust: Spoon a layer of the graham cracker crust mixture into the bottom of each cup. Use the back of a spoon to press it down firmly.
2. Add the Cheesecake Filling: Carefully spoon the cheesecake filling over the crust, filling it about halfway. Use a piping bag for a more polished look, allowing you to control the amount and placement of the filling.
3. Top with More Crust: Add another thin layer of the graham cracker crust on top of the cheesecake filling for added texture.
4. Finish with the Cheesecake Filling: Spoon the remaining cheesecake filling into the cups, smoothing the tops with a spatula or the back of a spoon for an even finish.
The Significance of Smoothing the Tops for Aesthetics
A well-smoothened top not only looks professional but also sets the stage for the blueberry topping. Take the time to ensure each cup has a neat and even surface. This attention to detail enhances the overall appeal of the dessert, making it more attractive when served to guests.
Preparing the Blueberry Topping: A Burst of Flavor
The blueberry topping is the star of this dessert, providing a tangy complement to the rich cheesecake. Using fresh blueberries elevates the flavor and adds vibrant color.
Cooking Fresh Blueberries to Create a Syrupy Topping
To create a luscious blueberry topping, begin by cooking fresh blueberries in a saucepan. This process will help release their natural juices, creating a syrupy consistency.
Steps to Prepare the Blueberry Topping
1. Combine Ingredients: In a saucepan, combine 2 cups of fresh blueberries, 1/4 cup of water, and 1-2 tablespoons of sugar (to taste).
2. Cook Over Medium Heat: Bring the mixture to a gentle simmer over medium heat. Stir occasionally, allowing the blueberries to burst and release their juice.
3. Thicken the Mixture: Once the mixture starts to bubble, reduce the heat and let it cook for an additional 5-10 minutes until it thickens slightly. If you prefer a thicker consistency, you can mix 1 teaspoon of cornstarch with a little cold water and add it to the bubbling mixture.
4. Cool the Topping: Remove the saucepan from the heat and allow the blueberry topping to cool to room temperature before spooning it over the cheesecake cups.
Balancing Sweetness with Honey and Its Optional Nature
While sugar enhances the flavor of the blueberry topping, feel free to adjust the sweetness according to your preference. Honey can be an excellent alternative, providing a different depth of flavor. If using honey, add it during the cooking process but start with a smaller amount, as honey is typically sweeter than sugar. Remember, the cheesecake filling is already sweet, so balance is crucial.
Chilling and Serving the Cheesecake Cups
The Importance of Chilling
Chilling the cheesecake cups is an essential step in the preparation process. Not only does it allow the flavors to meld together, but it also helps the cheesecake set properly for a firmer texture.
Recommended Chilling Times for the Best Results
– Initial Chill: After assembling the cheesecake cups, cover them with plastic wrap and refrigerate for at least 4 hours. This time allows the filling to firm up, making it easier to scoop.
– Overnight Chill: For optimal flavor and texture, consider chilling the cups overnight. This extended time enhances the taste and ensures the cheesecake sets perfectly.
Garnishing for Presentation
Once the cheesecake cups have set, it’s time to add the finishing touches. Garnishing not only enhances the presentation but also adds a fresh element to the dessert.
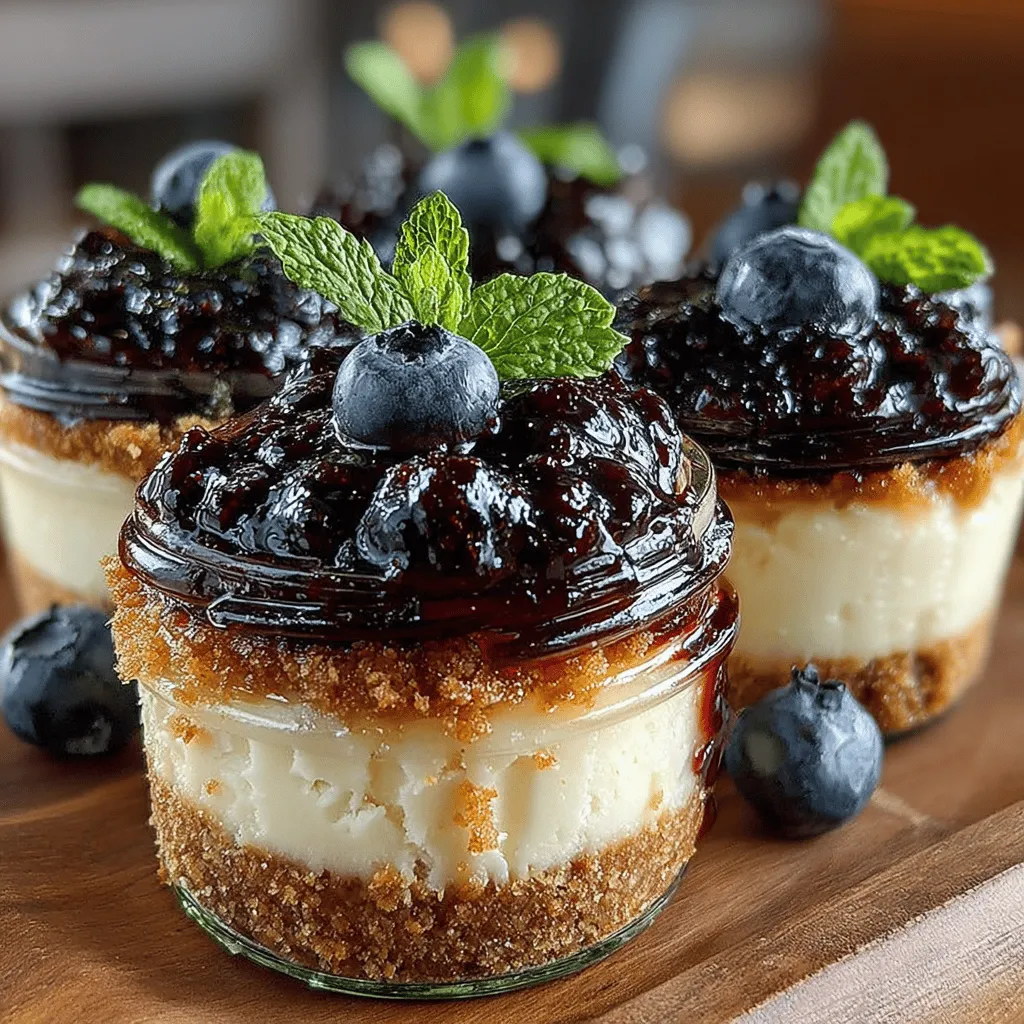
Suggestions for Garnishing with Mint Leaves and Whole Blueberries
1. Fresh Mint Leaves: Place a small mint leaf on top of each cheesecake cup for a touch of color and a refreshing aroma.
2. Whole Blueberries: Add a few whole blueberries on top of the blueberry layer for visual appeal and to emphasize the fruitiness of the dessert.
The Impact of Visual Appeal on the Overall Dessert Experience
A beautifully garnished dessert not only pleases the eye but also enhances the dining experience. The vibrant colors and textures invite guests to dig in, making it a feast for the senses.
Nutritional Information
Caloric Breakdown of No-Bake Blueberry Cheesecake Cups
Understanding the nutritional profile of your dessert can help you enjoy it more mindfully. Each serving of these luscious no-bake blueberry cheesecake cups offers a delightful balance of flavors with some nutritional benefits.
Overview of Nutritional Benefits and Indulgence Balance
– Calories: Each cheesecake cup contains approximately 250-300 calories, making it a moderately indulgent treat.
– Nutrients: Blueberries are rich in antioxidants, vitamins, and minerals, offering health benefits while satisfying your sweet tooth.
– Portion Control: These cups are designed to be enjoyed in moderation. Consider serving them in smaller cups or jars to control portion sizes while still indulging in a rich dessert.
Conclusion
Luscious No-Bake Blueberry Cheesecake Cups are a delightful addition to any dessert repertoire. With their creamy texture, fresh blueberry topping, and easy preparation, they offer a perfect blend of flavor and convenience. Whether you’re hosting a party or simply treating yourself after a long day, these cheesecake cups are sure to impress. Embrace the joy of no-bake desserts and savor each delicious spoonful of this delightful treat. With simple techniques and a focus on aesthetics, you can create a dessert that not only tastes incredible but also looks stunning on any table. So gather your ingredients, follow these steps, and prepare to delight your friends and family with this exquisite dessert!